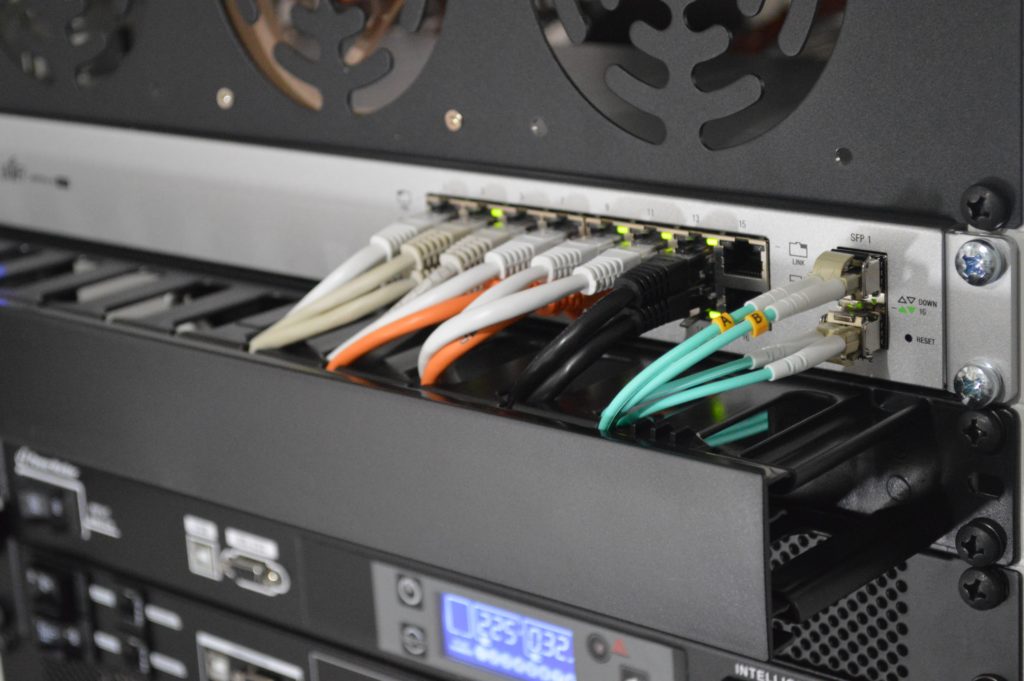
Ethernet cables hold a permanent and prominent place in modern-day home networks.
As far as testing is concerned, there are a couple of ways to test the connection of the cables that you use. One of the methods involves using a professional tester (a machine), while the other one does not require the use of a machine. Instead, the other method requires a software download and a couple of other things.
Go through these methods carefully to deduce which one suits your project more. Check out the list of the most reliable Ethernet cables on Amazon now!
How Do I Test My Ethernet Connection?
The main way to test the connection provided by a cable is to use an Ethernet cable tester. A tester is a machine used by professionals (such as internet service providers) to check the strength of the connection provided by a cable.
There are different models available on the market. Some are used for different types of cables, and some are more compatible with other kinds of technologies. Therefore, it is up to you to select a model that is appropriate to the technology that you use in your house/work.
Check the names and types of the cables that are installed in your network, and then tally it with the model configurations to see if that model works for your technology or not.
Some models also come with an external receiver that is used to connect with the other end of the wire if it is stretched over a room or two.
Those models are more expensive; therefore, if you are not working professionally and can disconnect the cable for a while to check it with just one machine, then you can save a couple of bucks!
If you are using a tester for the first time, then you can follow the steps below to see how it works:
- Power on the newly bought tester. Make sure to check if it has batteries and then run it. Some lights on it should start flickering as the display turns on.
- You can see the Ethernet ports on the bottom of the testers. Connect one end of the cable to the port labeled “TX.” This port is called the transmitter port, and it can send signals to the receiver port. The receiver port is either next to it or on an external receiver (if your model has a detachable receiver).
- Plug in the other end of the same cable into the receiver port. This port will be labeled as “RX.” If you want to check the other end of the wire and it’s in another room, then you can use the detachable receiver, provided your model has one at all.
- The final part of this testing method is to read the flashing lights on the tester. Each tester has a pair of eight lights. Each light corresponds to a pin on the transmitting and the receiving end.
If all of them light up, it means that the wire is working fine, and you do not need to change anything in your network. If even one light is not flashing on either the transmitting display or the receiving display, it means that there is a short in the cable.
If the lights are not flashing in order, it means that you are testing a cross-over cable.
If all eight lights are not flashing, it means that you would have to fix the cable. You can fix it by replacing the entire cable or replacing its connectors and testing it again to see if it works.
How Can I Test Ethernet Cables Without A Tester?
There are two ways to test the cable without purchasing any machinery that an amateur will not use again. The first method is the simpler one, and the second method is a bit complex.
Follow the steps below to find out more about the first method:
- You need two computers to run this test—plug in the same Ethernet cable on both computers. Use one end with one computer and the other end with the second computer.
- Network Interface Cards (NIC) on both computers should light up if the wire is working fine. If these lights on both computers do not light up or the “networks” icon on the bottom left does not show a connection, it means that the cable is faulty.
- This method does not tell you more detail. It only tells you if the wires are working or not.
The other method will tell you more detail about the type of connection your Ethernet cable provides and its processing speeds. Follow the steps below to implement that method:
- You would again require two computers. You need to download “bandwidth testing” or “Ethernet testing” software on both of these computers.
- Connect the two computers with the Ethernet cables like you did in the previous method.
- Run this software on each computer individually.
- Follow the onscreen instructions on the software (running on both computers) to successfully conduct connection and bandwidth tests. Each software has a different way of conducting its tests. Therefore, it is impossible to explain beyond this step. However, it is quite straightforward after you have downloaded the correct software. Check out the list of the most reliable Ethernet cables on Amazon now!
Conclusion
Ethernet testing is part of a professional’s skill set; however, learning this skill can come in handy.
If you are looking to solve your home/work network’s problems on your own, you can skim through this article and learn to conduct your own tests in no time.

Hi there, technology lovers! My name is James, I am an admin and a frequent writer for this blog. I am a techno-geek, so this blog is the place where I want to share all my knowledge with you to make your life a little bit easier in terms of dealing with technology.